Handling method for refrigerant leakage in split type air-cooled chiller
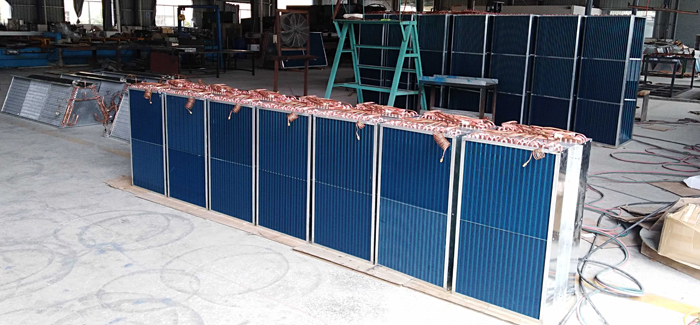
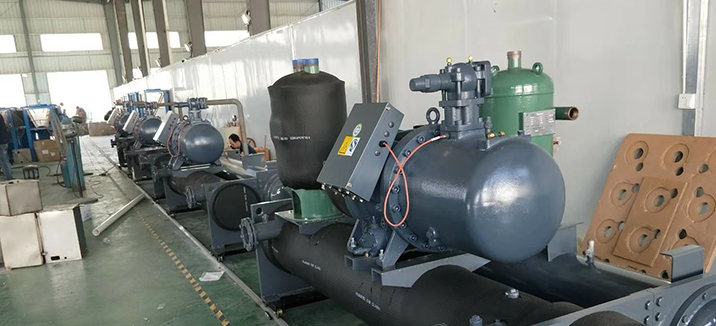
When a split type air-cooled chiller experiences refrigerant leakage, it is usually due to leakage points in the unit components, such as the evaporator, which is one of the four major components of the refrigeration system. After all, there are more welding joints on both sides of the evaporator, which may result in more leakage points. This requires the evaporator manufacturing personnel in the factory to have excellent welding skills.
The evaporator may have leakage points, mainly due to poor welding technology. Before burning the copper tube red (temperature did not reach 600 ℃~700 ℃), the welding rod was placed at the welding joint, and the copper tube and solder were not fused together, causing the welding joint to be clamped, have slag, and not smooth. Over time, leakage points will appear.
When the evaporator of the split type air-cooled chiller leaks, the unit should be shut down first, and then the manufacturer should be contacted by phone to arrange after-sales service personnel for handling. When dealing with refrigerant leakage issues, the evaporator can be disassembled and welded. The disassembly method is:
1. After identifying the leakage point, mark it properly;
2. If there is still refrigerant remaining in the refrigeration system, it should be stored first;
3. Use two 8-inch or 10 inch wrenches to remove the indoor unit connection lock nut and remove the electrical box on the right side of the indoor unit;
4. Remove the fixed pipes and clamps on the back of the evaporator, and remove the left and right positioning screws of the indoor evaporator;
5. Gently lift the pipeline from the back of the indoor unit with your left hand to move the evaporator forward. Pull out the evaporator 5cm with your right hand, then rotate it 90 degrees with both hands and pull it out along the pipeline (be careful not to knock over the fins with both hands).
After removing the evaporator, place it in a flat and clean place, wipe off the oil stains at the leakage point with a dry cloth, and weld the leakage point with silver. After pressure inspection to confirm that there is no leakage, install the evaporator back into the indoor unit in the reverse order of disassembly.
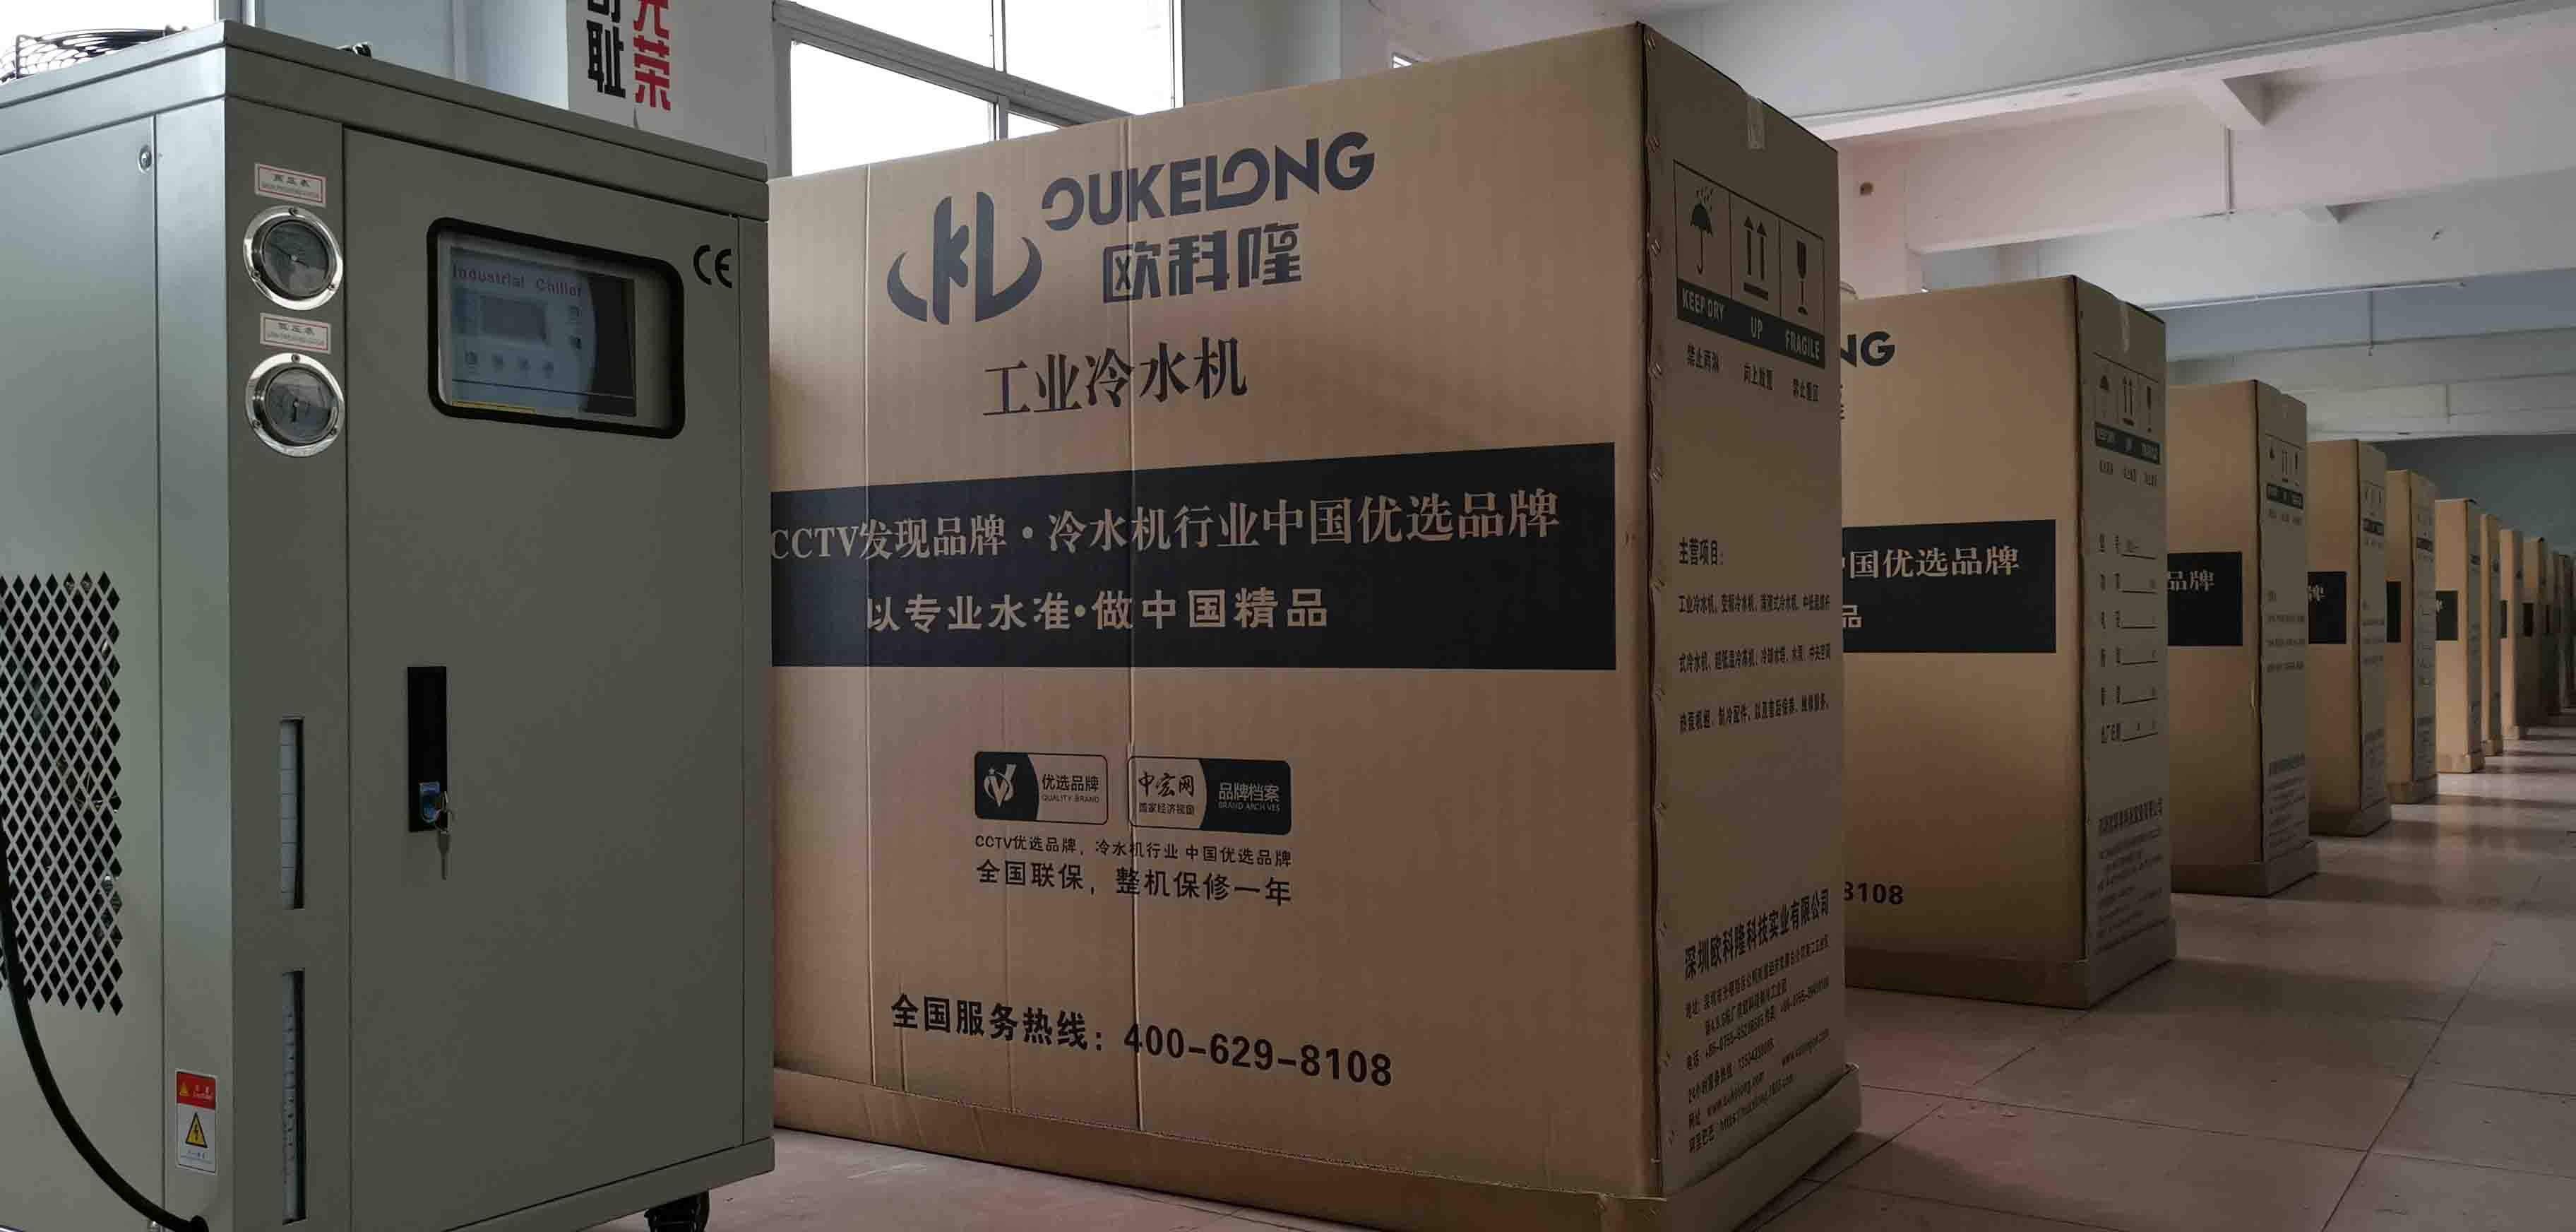
Of course, there are many possibilities for refrigerant leakage, not just leaks in the evaporator, which requires gradual inspection. For more information, you can continue to follow Oklon Refrigeration!
 CN
CN
 EN
Official weibo/
Online message/
Contact us/
Legal notices
EN
Official weibo/
Online message/
Contact us/
Legal notices